The Latex Glove Manufacturing Process Explained
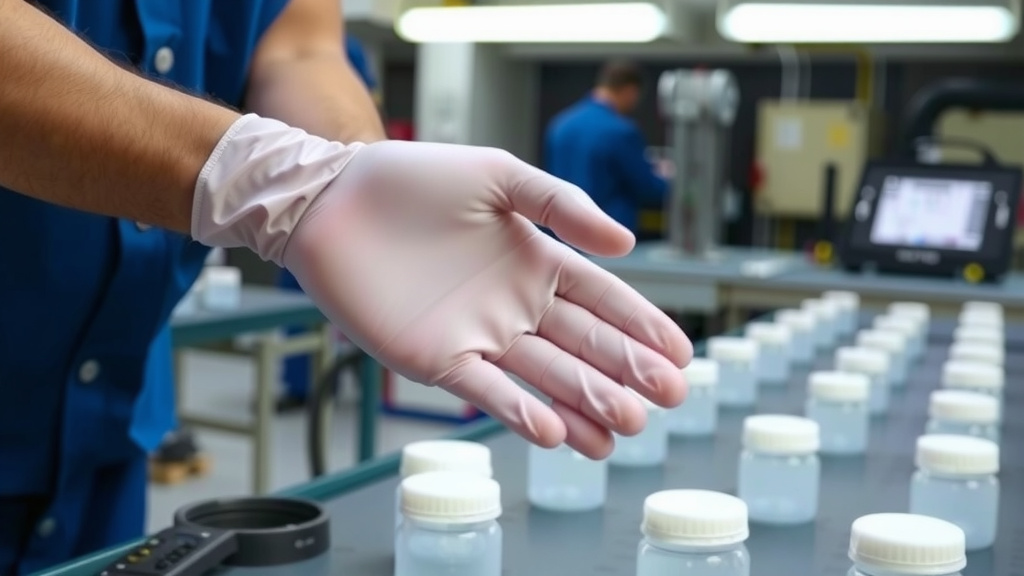
Latex gloves are made by dipping porcelain or aluminum molds into a natural rubber latex solution. The molds are shaped like hands. They are then cured in an oven to solidify the latex. Finally, the gloves are stripped from the molds, washed, and powdered or left without powder. This process creates the stretchy, protective gloves you use daily.
The manufacturing of latex gloves involves several careful steps. These steps ensure the gloves are durable and flexible. Understanding this process helps appreciate the science behind these everyday essentials. Many factories follow strict quality control measures to ensure the final product is safe and effective for various uses.
- Latex gloves start with hand-shaped molds.
- These molds are dipped into liquid natural rubber latex.
- Heat is used to harden the latex layer.
- Gloves are then removed, cleaned, and finished.
Ready to see how these essential gloves come to life? Let’s walk through the latex glove making process step by step.
How Natural Rubber Latex Gloves Are Manufactured
The creation of latex gloves is a fascinating journey from liquid sap to a protective barrier. It’s a process that requires precision and specialized equipment. We’ll break down each stage so you can see exactly what goes into making those familiar stretchy gloves.
The Raw Material: Natural Rubber Latex
Everything starts with the sap of the rubber tree, specifically the *Hevea brasiliensis* species. This milky white liquid is called natural rubber latex. Farmers carefully tap the trees, collecting the latex into buckets. It’s essentially tree sweat, but much more useful!
Collection and Initial Processing
Once collected, the raw latex is transported to processing plants. Here, it undergoes initial cleaning to remove impurities like bark and leaves. The latex is then often concentrated. This process removes excess water, making the latex more stable for manufacturing. Many facilities use centrifugation to achieve this concentration.
Chemical Additives for Durability and Performance
Pure latex isn’t quite ready for glove making. Certain chemicals are added to enhance its properties. These include:
- Accelerators: These speed up the vulcanization process, which makes the rubber stronger.
- Activators: They help the accelerators work more efficiently.
- Antioxidants: These protect the gloves from degradation caused by oxygen and ozone.
- Sulfur: This is the key ingredient for vulcanization, creating cross-links in the rubber.
These additives are carefully measured. The right balance is key to achieving the desired elasticity and strength in the final product. Research shows that proper chemical formulation is critical for glove performance (NCBI).
The Dipping Process: Giving Gloves Their Shape
This is where the magic really begins to happen. Hand-shaped molds, usually made of porcelain or aluminum, are the foundation of glove manufacturing. These molds are cleaned meticulously before each use.
Pre-treatment of Molds
Before dipping, the molds are treated with a coagulant. This is a chemical solution, often calcium nitrate or calcium chloride. The coagulant helps the latex cling to the mold. It also aids in the subsequent stripping of the glove from the mold. Think of it as a primer for painting – it helps the next layer stick properly.
The Dip Tank and Layering
The treated molds are then submerged into a large tank filled with the prepared liquid latex. They are dipped slowly and evenly. The molds are usually rotated slightly as they are withdrawn. This ensures a uniform coating of latex. The thickness of the glove depends on how long the mold is in the latex and how quickly it’s pulled out. Multiple dips might occur to build up the desired thickness.
Leaching and Washing
After the initial dip, the gloves are still soft and sticky. They are then rinsed thoroughly in water. This step is called leaching. It removes any residual coagulant and water-soluble compounds from the latex. Proper leaching is important for reducing the risk of skin irritation for users. Many manufacturers adhere to strict washing protocols to ensure product safety.
Vulcanization: The Strengthening Step
The coated molds, now looking like thin, wet glove shells, move to the vulcanization stage. This is a heat treatment process that cures the rubber. It transforms the soft, sticky latex into a strong, elastic material.
The Role of Heat and Sulfur
The molds are passed through a large oven or steam chamber. The heat, combined with the sulfur added earlier, causes cross-linking within the polymer chains of the rubber. This creates a much more durable and flexible material. Without vulcanization, the gloves would remain weak and easily tear. It’s a bit like baking a cake – the heat changes the structure and makes it solid and usable.
Finishing Touches: Stripping, Finishing, and Packaging
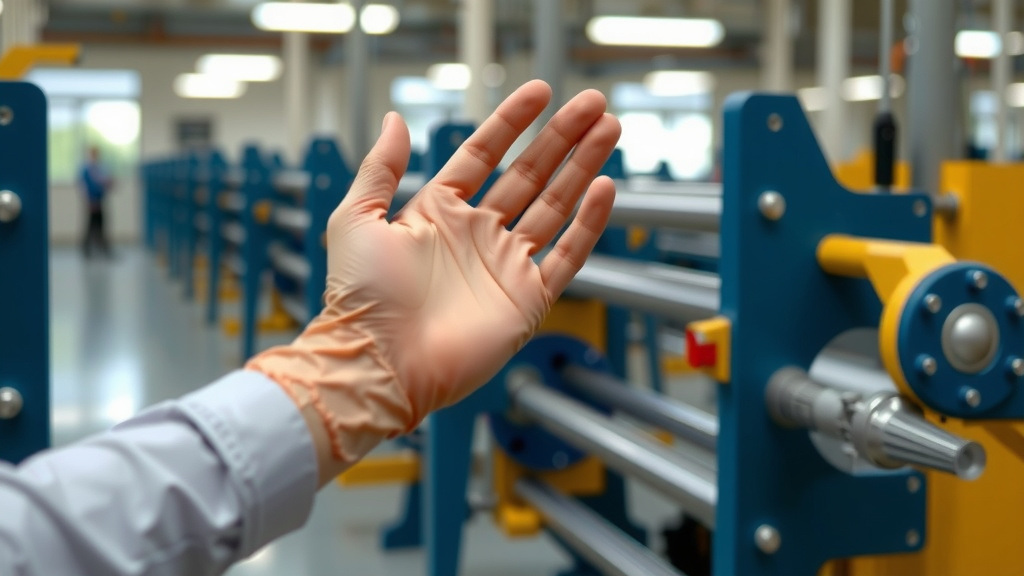
Once cured, the gloves are ready for their final transformations. This stage involves removing them from the molds and preparing them for sale.
Stripping the Gloves from Molds
This is a critical step. The now-formed gloves are carefully stripped from the porcelain or aluminum molds. This is typically done by trained workers or automated machinery. The coagulant applied earlier helps make this separation possible without damaging the glove.
Beading the Cuff
Many gloves have a rolled cuff, often called a beaded edge. This is usually formed at this stage. A thicker layer of latex is applied to the cuff area before or during the main dipping process. This rolled edge adds strength and prevents the glove from tearing at the wrist when being put on or taken off.
Powdering vs. Powder-Free
Gloves come in two main types: powdered and powder-free. After stripping and washing, gloves intended to be powdered are tumbled in a machine with cornstarch. The cornstarch makes them easier to put on and take off. However, some users can be sensitive to cornstarch powder. For this reason, many gloves are now manufactured as powder-free. These undergo additional washing and chlorination processes to make their surfaces smoother and easier to don.
Final Inspection and Packaging
Every glove produced undergoes rigorous quality checks. Inspectors look for holes, thin spots, tears, and other imperfections. Reputable manufacturers, like those adhering to ISO standards, have stringent quality control measures (ISO). Gloves that pass inspection are then sorted, packed into boxes, and prepared for distribution to hospitals, labs, and households around the world.
A Checklist of the Glove-Making Journey
Here’s a quick recap of the main steps:
- Collecting natural rubber latex sap.
- Adding chemicals for strength and elasticity.
- Preparing hand-shaped molds with a coagulant.
- Dipping molds into latex to form the glove shape.
- Curing the latex with heat through vulcanization.
- Stripping, finishing, and packaging the final gloves.
Conclusion
You’ve journeyed through the fascinating process of latex glove manufacturing. From the tapping of rubber trees to the final, inspected glove, each step ensures a product that’s both protective and flexible. Understanding the role of natural latex, chemical additives, and vulcanization helps you appreciate the science behind these everyday essentials. Now that you know how they’re made, you can better understand their quality and purpose. Take a moment to review the glove packaging next time you use them; you might even spot details about their production.
Frequently Asked Questions
Are all latex gloves made from natural rubber?
Most medical and industrial latex gloves are made from natural rubber latex, harvested from rubber trees. However, some gloves, especially those designed for different purposes or for individuals with latex allergies, might be made from synthetic materials like nitrile or vinyl. However, some gloves, especially those designed for different purposes or for individuals with latex allergies, might be made from synthetic materials like nitrile or vinyl.
Why is the vulcanization process so important for latex gloves?
Vulcanization is essential because it transforms the soft, sticky raw latex into a strong, elastic material. This heat treatment, combined with sulfur, creates cross-links in the rubber’s polymer chains, giving the gloves their characteristic durability and stretchiness without tearing easily.
What is the purpose of the coagulant used in glove making?
The coagulant is a chemical solution applied to the hand-shaped molds before dipping them into the latex. Its main purpose is to help the latex evenly adhere to the mold, forming a consistent layer. It also makes it easier to strip the finished glove off the mold later in the process.
How do manufacturers ensure latex gloves are safe for use?
Safety is a priority, with manufacturers following strict quality control measures. This includes rigorous washing to remove potential irritants, thorough inspection for defects like holes, and ensuring the correct chemical balance during production to minimize allergic reactions for sensitive individuals.
What’s the difference between powdered and powder-free latex gloves?
Powdered gloves have cornstarch added after manufacturing, making them easier to put on and take off. Powder-free gloves undergo extra washing and chlorination to create a smooth surface, which is preferred by many as it reduces the risk of powder-related irritation or contamination in sterile environments.