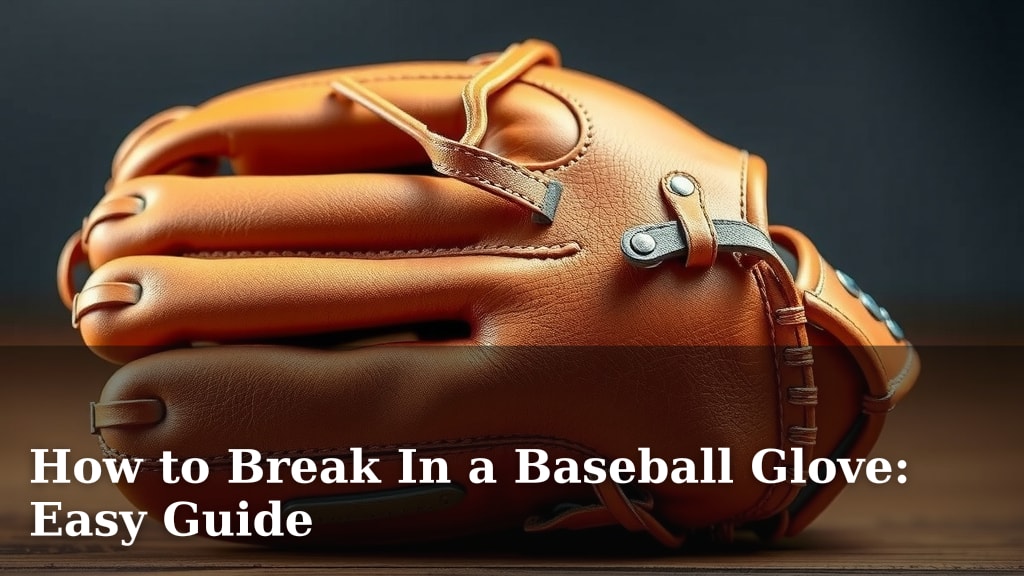
How to Break In a Baseball Glove: Easy Guide
Breaking in a new baseball glove might seem tough, but it’s totally doable! The quickest way to break in your baseball glove is by using a combination of conditioning, kneading, and playing catch. This process ensures your glove becomes comfortable and game-ready without damaging the leather. You’ll be making amazing plays in no time!
A properly broken-in glove isn’t just about comfort; it’s about performance. A stiff glove can lead to errors and missed catches. We found that using the right methods can significantly speed up the process and give your glove a game-ready feel sooner. It makes a big difference for any player.
- Use glove conditioner and oil.
- Knead the glove by hand.
- Play catch regularly.
- Store it properly.
Ready to get your glove feeling perfect? Let’s walk through exactly how to break in your baseball glove step by step, making it feel like an extension of your hand.
So, you’ve got a brand new baseball glove. It’s stiff, smells amazing, and looks ready for the big leagues. But let’s be honest, trying to catch a fastball with it right now might feel like trying to catch a brick. That’s where breaking it in comes in!
Getting Your Glove Game-Ready: The Essential Steps
Breaking in your baseball glove doesn’t need to be a painful chore. We found that a few key methods will make your glove feel like a natural extension of your hand, ready for game-winning plays.
Step 1: Conditioning is Key
Think of glove conditioner as moisturizer for your leather. It helps soften the leather and makes it more pliable. You don’t need a lot; a small amount goes a long way.
Choosing the Right Conditioner
There are many glove oils and conditioners on the market. Some players prefer a simple petroleum jelly, while others opt for specialized glove butter. We found that most reputable brands work well. Just ensure it’s designed for genuine leather.
How to Apply Conditioner
You want to apply a thin, even layer. Use a soft cloth or your fingertips. Gently rub it into the leather, paying attention to the pocket and the fingers. Don’t soak the glove; that can actually damage the leather. A little goes a long way to nourish the material.
Step 2: The Manual Softening Process
This is where you physically work the glove. It’s like giving it a massage to loosen it up. Your hands are your best tools here.
The Kneading Technique
Take your glove and gently knead the pocket area. Fold the glove in half, then press down firmly. You can use your fist or the heel of your hand. Repeat this process, working different parts of the glove. Many players find this helps create the pocket and makes the glove more flexible.
Bending and Flexing
Open the glove fully, then gently bend it. Try to make the thumb and index finger meet. Hold it in that position for a moment. Doing this repeatedly helps to loosen up the laces and the leather panels. You’re essentially teaching the glove how to close naturally.
Step 3: Putting Your Glove to Work: Playing Catch
This is arguably the most effective method. Nothing beats the real thing when it comes to shaping your glove.
The Importance of Regular Catch
Playing catch is crucial because the impact of the ball naturally molds the glove to your hand. It reinforces the pocket and ensures the glove closes around the ball. Even short sessions can make a big difference. Aim for consistency.
Targeting the Pocket
When playing catch, try to have the ball land in the deepest part of the pocket. This helps to define that area. You want the glove to feel like a comfortable nest for the ball. Some players even find it helpful to have a coach or friend hit balls directly into the pocket for them.
Step 4: Smart Storage for Longevity
How you store your glove when you’re not using it matters. Proper storage helps maintain its shape and prevents damage.
The Ball in the Pocket Method
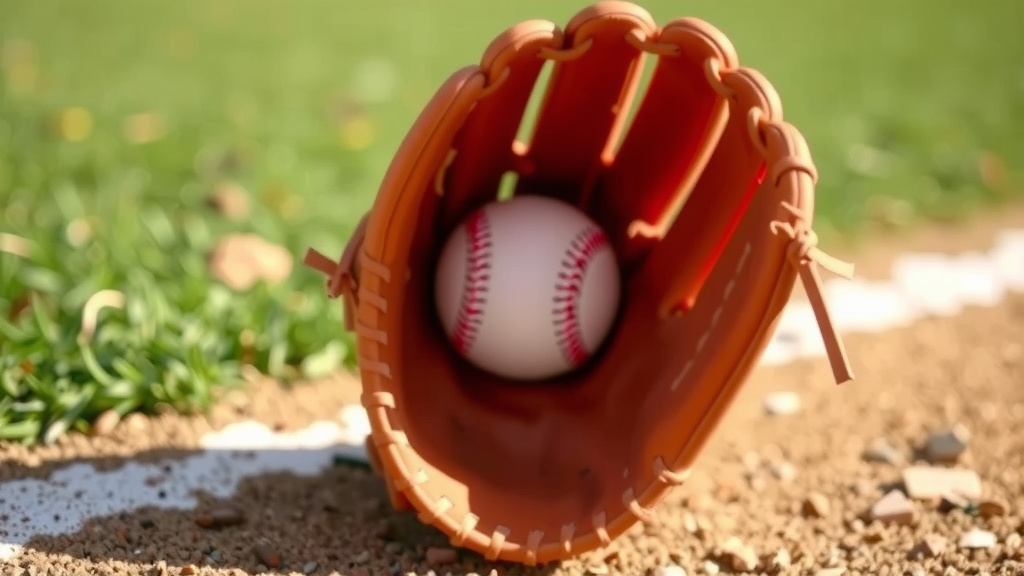
A common technique is to place a baseball or a softball right in the pocket of the glove. Then, you can wrap the glove with a rubber band or a glove strap. This helps the glove retain its shape and keeps the pocket defined. We found this keeps the glove from collapsing overnight.
Avoid Extreme Temperatures
Never leave your glove in direct sunlight for extended periods or in a hot car. Extreme heat can dry out and crack the leather. Likewise, extreme cold can make it stiff and brittle. Your garage or car trunk might be too extreme.
A Quick Checklist for Glove Breaking-In Success
Follow these simple steps to get your glove ready:
- Apply a thin layer of glove conditioner.
- Gently knead the pocket area.
- Bend the glove open and closed repeatedly.
- Play catch, focusing on the pocket.
- Store with a ball inside to keep its shape.
- Repeat these steps regularly.
What to Avoid During the Breaking-In Process
Some methods might seem like shortcuts, but they can actually hurt your glove.
The Oven and Microwave Myth
You might hear about using an oven or microwave to speed things up. Please, don’t do this! High heat can permanently damage the leather, making it stiff, brittle, and unusable. It’s a myth that this works. Many experts advise strongly against it.
Excessive Oil or Water
As mentioned earlier, too much oil or water is bad. Over-oiling can make the leather greasy and heavy. Too much water can weaken the leather fibers. Always use products sparingly and follow instructions. You want to condition, not drown, your glove.
Conclusion
Breaking in your new baseball glove is a straightforward process. By combining regular conditioning, consistent manual softening, and plenty of playing catch, you’ll develop a glove that feels like a natural extension of your arm. Remember to store it properly to maintain its ideal shape. This careful approach ensures your glove performs at its best for seasons to come. Now, go out there and make those plays!
Frequently Asked Questions
How long does it typically take to break in a baseball glove?
The time needed varies, but most gloves become game-ready within a few weeks of consistent use. Shorter, frequent breaking-in sessions are often more effective than one long session. You’ll feel the glove soften and mold to your hand over time.
Can I use Vaseline to break in my glove?
Yes, petroleum jelly can be used as a conditioner. Apply a very thin layer, just like a commercial glove conditioner. Avoid using too much, as excessive oil can make the leather heavy and greasy. It’s a simple, accessible option for softening the leather.
Should I oil my glove every day?
You don’t need to oil your glove every single day. Apply conditioner when the leather starts to feel dry or stiff, typically once every week or two. Over-oiling can damage the leather, so it’s best to use products sparingly. Focus on consistency rather than frequency.
Is it okay to use heat to break in my glove?
Absolutely not. Methods involving ovens, microwaves, or direct heat can severely damage the leather. This type of heat makes the leather brittle, stiff, and prone to cracking, ruining your glove. Stick to the manual methods recommended.
How do I make sure my glove fits my hand properly?
A proper fit means the glove feels snug but not tight, allowing for easy closure. Play catch regularly to mold the pocket to your hand. Ensure the finger stalls aren’t too loose or too tight. A well-broken-in glove should feel comfortable and secure when you wear it.