The Plastic Glove Production Process Explained
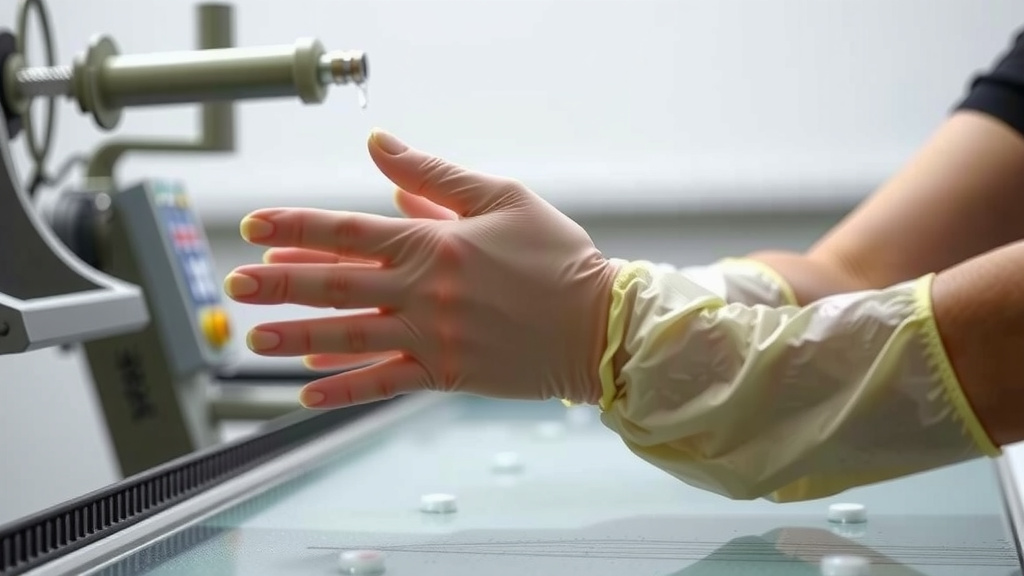
Plastic gloves are typically made through a process called dipping. This involves coating a mold shaped like a hand with a liquid plastic material. The plastic then hardens, forming the glove. This method is efficient for mass production of disposable gloves.
The type of plastic used, such as latex, nitrile, or vinyl, influences the glove’s properties like durability and flexibility. Different processes exist for various glove types. We found that understanding these materials helps explain why some gloves are better for certain tasks.
- Gloves are made by dipping hand-shaped molds.
- Liquid plastic coats the molds to form the glove.
- Materials like latex, nitrile, and vinyl are common.
- This dipping method is efficient for mass production.
Let’s walk through exactly how this manufacturing process works step by step, so you can see how your go-to protective gear comes to life!
How Your Protective Gloves Come to Life
It’s pretty amazing to think about how those thin, flexible gloves protect your hands. We’ve all used them, whether for cleaning, cooking, or something more serious. You might be wondering about the journey from raw materials to the finished product you use. Let’s pull back the curtain on the fascinating manufacturing process.
The Dipping Method: A Foundation for Glove Production
The primary method for making most disposable plastic gloves is a process called dipping. It’s a clever technique that relies on molds and a liquid plastic solution. Think of it like dipping a cookie cutter into batter to make cookie shapes, but on an industrial scale and with much more precision.
Step 1: Preparing the Hand Molds
It all starts with the molds. These aren’t just any molds; they are shaped meticulously like human hands. Ceramic is a common material for these molds because it’s smooth and holds heat well, which is important for the next steps. These hand forms come in various sizes, just like real hands, to ensure a good fit for everyone.
Cleaning and Prepping the Molds
Before any plastic material touches them, the molds undergo a thorough cleaning. They are washed and often treated with chemicals. This ensures that the plastic adheres properly and that the final glove is free from any contaminants. A clean mold is essential for a high-quality, hygienic glove.
Step 2: The Coating Process
This is where the magic really happens. The clean, dry hand molds are dipped into a large vat filled with a liquid plastic material. The type of plastic depends on the kind of glove being made – latex, nitrile, or vinyl are the most common. This liquid plastic mixture is carefully controlled for temperature and viscosity.
How the Plastic Coats the Mold
The molds are submerged in the liquid plastic for a specific amount of time. This duration determines the thickness of the glove. A longer dip means a thicker glove, while a shorter dip results in a thinner, more sensitive one. After the initial dip, the molds are often pulled out slowly and then dipped again to ensure an even coating. We found that consistency here is key to uniform glove thickness.
Step 3: Curing and Drying
Once coated, the molds travel through a long oven. This is the curing stage. Heat causes the liquid plastic to solidify and form a stable, flexible glove shape. The temperature and time in the oven are precisely calibrated. Too much heat or too little can affect the glove’s strength and elasticity. Many manufacturers use advanced systems to monitor this closely, ensuring the plastic polymerizes correctly.
Washing Away Excess Materials
After curing, the gloves are still attached to the molds. They need to be removed and cleaned. The first step is often a wash to remove any unreacted chemicals or residual materials. This is especially important for gloves that will be used in food handling or medical settings. We found that this washing step is critical for consumer safety.
Step 4: Forming and Finishing
With the glove now solid and detached from the mold, it’s time for final touches. A process called beading is often applied to the cuff. This involves rolling the edge of the glove opening to create a thicker, reinforced rim. This makes the glove easier to put on and prevents it from tearing as you pull it over your hand. It’s a small detail that makes a big difference in usability.
Quality Checks and Packaging
Before they’re boxed up, the gloves go through rigorous quality control checks. Inspectors look for any pinholes, tears, or defects. Automated machines also perform tests, sometimes by inflating the gloves to check for leaks. Only the perfect gloves make it to the next stage. Once approved, they are sorted, counted, and packed into boxes, ready to be shipped out to you.
Understanding Different Glove Materials
The type of plastic used isn’t just for show; it greatly impacts the glove’s performance. Different tasks call for different materials, offering varying levels of protection and feel. Many experts suggest choosing gloves based on the specific application (CDC).
Latex Gloves
Latex is a natural rubber. It offers excellent elasticity and a very snug, comfortable fit. This makes them feel like a second skin, which is why they were once the go-to for medical professionals. However, some people are allergic to latex proteins. We found that awareness of latex allergies is very important.
Nitrile Gloves
Nitrile is a synthetic rubber that’s become incredibly popular. It provides great puncture and chemical resistance, making it a versatile choice for many industries, from automotive to healthcare. Nitrile gloves are also a fantastic option for those with latex allergies. They offer a good balance of dexterity and protection. Many studies show nitrile is a strong performer against common chemicals.
Vinyl Gloves
Vinyl, or PVC, is a less elastic option. These gloves are generally more affordable and are often used for low-risk tasks where frequent glove changes are expected, such as food service or janitorial work. They offer a good barrier against moisture and some chemicals. However, they typically don’t offer the same level of durability or chemical resistance as latex or nitrile.
A Quick Look at the Manufacturing Steps
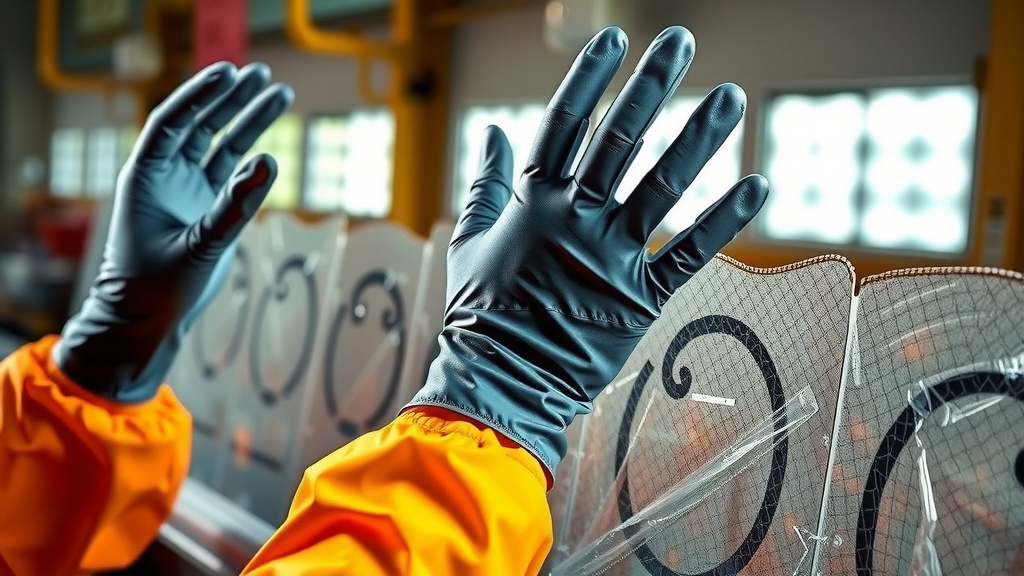
To recap, here’s a simplified checklist of how those gloves get made:
- Hand-shaped molds are cleaned and prepared.
- Molds are dipped into liquid plastic (latex, nitrile, or vinyl).
- The plastic-coated molds go through an oven for curing.
- Gloves are removed from molds and washed.
- Cuffs are beaded for strength and ease of use.
- Final quality checks ensure no defects.
Conclusion
You’ve seen how those everyday protective gloves are crafted. The dipping process, using hand-shaped molds and carefully controlled plastic materials, is central. Whether latex, nitrile, or vinyl, each material offers unique benefits for your needs. Understanding this manufacturing journey shows the care taken to create a reliable barrier. Next time you reach for a pair, you’ll appreciate the smart engineering involved. Take a moment to choose the right glove material for your specific task to ensure you have the best protection.
Frequently Asked Questions
How long does it take to make a pair of plastic gloves?
The entire manufacturing process, from mold preparation to final packaging, can take several hours. Curing the plastic in ovens and multiple washing steps require precise timing. Manufacturers carefully control each stage to ensure glove quality and consistency.
Are plastic gloves made in clean rooms?
Yes, many plastic gloves, especially those for medical or food-grade use, are produced in highly controlled environments. These facilities minimize contamination. Strict hygiene protocols are followed to ensure the gloves are safe for sensitive applications.
What happens to defective gloves?
Gloves that fail quality control checks are typically recycled or disposed of properly. Inspectors look for issues like holes or weak spots. Ensuring only quality gloves reach consumers is a top priority for manufacturers.
Can you reuse disposable plastic gloves?
Disposable gloves are designed for single use. Reusing them can compromise their protective barrier. Micro-tears can form, and contaminants can be spread. It’s best to discard them after each use as intended.
How is the texture on glove surfaces created?
Some gloves have textured surfaces for better grip. This texture can be incorporated into the mold design itself. The liquid plastic then captures this pattern as it solidifies. This adds functionality for tasks requiring dexterity.