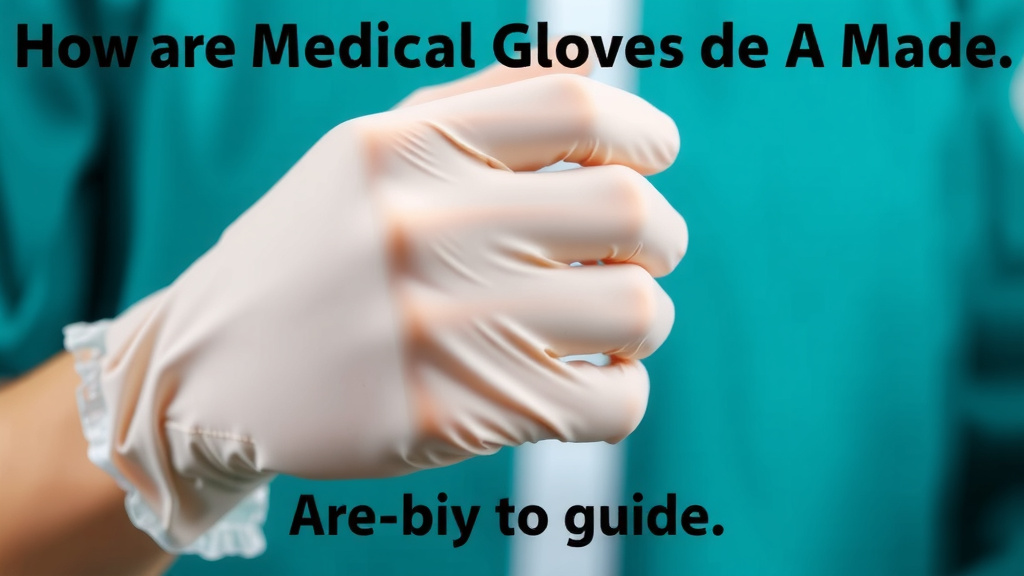
How Medical Gloves Are Made: A Step-by-Step Guide
Medical gloves are primarily made using a process called **dipping**. This involves dipping a mold, shaped like a hand, into a liquid material. The most common materials are **latex, nitrile, and vinyl**. This method allows for the creation of thin, flexible, and protective gloves.
The manufacturing of these essential protective barriers is a highly controlled process. It ensures each glove meets strict standards for safety and performance. From the initial dipping to the final packaging, every step is designed to create a **reliable barrier** against contaminants. Many experts agree this process is key to preventing infection.
- Medical gloves are made by dipping hand-shaped molds into liquid materials like latex, nitrile, or vinyl.
- This method creates thin, flexible, and protective gloves.
- The manufacturing process is highly controlled to ensure quality and safety.
- It’s a critical step in preventing the spread of germs and infections.
Ready to see how those protective barriers go from liquid to your hands? Let’s walk through the steps of how medical gloves are actually made.
The Journey of a Medical Glove: From Liquid to Protection
Ever wonder how those thin, protective barriers that keep you and healthcare workers safe actually get made? It’s a fascinating process that relies on precision and quality control. We found that the making of medical gloves is primarily done through a method called dipping. This involves using specially shaped molds, like tiny ceramic hands, that are submerged into vats of liquid materials. These materials are carefully chosen for their protective qualities.
The most common materials you’ll find in medical gloves are latex, nitrile, and vinyl. Each has its own set of properties that make it suitable for different medical applications. The dipping process is key to creating gloves that are both flexible enough for detailed work and strong enough to be a reliable barrier. It’s a pretty neat transformation, don’t you think?
Choosing Your Glove Material: Latex, Nitrile, or Vinyl?
Before we dive into the making process, it’s helpful to understand the materials. The choice of material impacts how the glove performs and who can use it safely. We’ve found that each material offers a different balance of protection, comfort, and cost.
1. Latex Gloves: The Classic Choice
Latex is a natural rubber material. It’s known for its excellent elasticity and tactile sensitivity. This means latex gloves are very stretchy and allow you to feel subtle textures, which is important for delicate medical procedures. Many experts suggest latex for its high level of protection against many bodily fluids (CDC).
However, a significant downside is that some people experience allergic reactions to latex. These reactions can range from mild skin irritation to severe anaphylaxis. Because of this, many healthcare facilities have moved away from using latex gloves for general purposes.
2. Nitrile Gloves: The Popular Alternative
Nitrile gloves are made from a synthetic rubber. They are a very popular choice in healthcare settings today. We found that nitrile offers great puncture resistance and is highly effective against a broad range of chemicals and biological agents. This makes them a strong contender for high-risk situations.
Nitrile gloves are also latex-free, making them an excellent option for individuals with latex allergies. They provide a good balance of flexibility and durability, though some users report they aren’t quite as soft as latex. They are a reliable workhorse for many medical tasks.
3. Vinyl Gloves: The Economical Option
Vinyl gloves are made from synthetic plastic materials. They are generally the most affordable option. We’ve seen that vinyl is suitable for low-risk medical tasks where extensive contact with hazardous materials is not expected. They offer a decent barrier against water-based substances.
However, vinyl gloves are less durable and flexible compared to latex and nitrile. They can be more prone to tearing, especially during strenuous activity. For tasks requiring high dexterity or strong protection, nitrile or latex might be better choices. Think of them for quick, simple tasks.
The Dipping Process: Step-by-Step
Now, let’s get to how these gloves are actually formed. The dipping process is the heart of medical glove manufacturing. It’s a continuous loop of preparation, dipping, curing, and finishing.
1. Mold Preparation and Cleaning
The process begins with hand-shaped molds, typically made of ceramic or stainless steel. These molds are crucial for giving the gloves their shape. They are cleaned thoroughly to remove any debris or residue. A clean mold is essential for creating a defect-free glove. We found that even a tiny speck of dust can cause a weak spot.
2. The First Dip: Coagulant Application
Next, the clean molds are dipped into a solution containing a coagulant. This is a chemical that helps the liquid glove material adhere to the mold. The coagulant is critical for ensuring an even coating. It sets the stage for the material to build up layer by layer.
3. The Main Dip: Forming the Glove
After the coagulant, the molds are dipped into the main liquid material—be it latex, nitrile, or vinyl. The time the mold spends in the liquid determines the thickness of the glove. Manufacturers carefully control this duration. They aim for a glove that is thin enough for touch sensitivity but robust enough for protection. This is where the glove really starts to take shape. It’s a controlled flow that builds the barrier.
4. Curing and Drying: Solidifying the Glove
Once the mold is coated, it moves to an oven for curing. This heat treatment solidifies the liquid material, turning it into a flexible film. The curing process also helps to strengthen the glove. After curing, the gloves are often washed to remove any residual chemicals. Then, they go through a drying process to ensure they are completely dry and ready for the next steps.
5. Stripping and Finishing Touches
The moment of truth: the gloves are stripped off the molds. This is often done using a blast of air or water. Once stripped, the gloves are inspected for any imperfections. Some gloves may then undergo a process called chlorination or have a polymer coating applied. This makes them easier to put on and take off, especially if they are powdered gloves.
Powdered vs. Powder-Free Gloves
Traditionally, gloves contained powder (like cornstarch) to make them easier to don. However, we found that this powder can sometimes cause irritation or allergic reactions and can interfere with certain medical procedures. For this reason, powder-free gloves are now the standard in most healthcare settings. The manufacturing process for powder-free gloves includes extra washing and the application of a polymer coating.
Quality Control: Ensuring Safety and Reliability
You might be wondering how we can be sure these gloves are safe and effective. Well, rigorous quality control is built into every stage of the manufacturing process. This is non-negotiable when it comes to medical supplies. Experts at regulatory bodies like the FDA set strict standards.
Manufacturers conduct various tests. These include tests for physical strength, elasticity, and resistance to punctures and tears. They also test for the absence of harmful chemicals. Each batch of gloves must pass these stringent checks before it can be approved for use. We found that this attention to detail is what gives us confidence in the gloves we use.
A Checklist for a Safe Glove:
- The material is suitable for the intended use.
- The glove has consistent thickness and no thin spots.
- It passes tests for tensile strength and elasticity.
- It offers adequate resistance to punctures.
- It meets standards for biocompatibility (won’t cause reactions).
- It has passed all visual and automated inspections.
Conclusion
You’ve journeyed through the fascinating process of how medical gloves are made, from selecting the right material to the precise dipping and curing stages. We’ve seen how latex, nitrile, and vinyl gloves are formed using hand-shaped molds and rigorous quality control. This meticulous manufacturing ensures the reliable barrier you need for safety and protection. Remember, understanding this process can help you appreciate the quality and care that goes into every pair. Next time you reach for a glove, you’ll know exactly how it was crafted to keep you safe.
Frequently Asked Questions
Can I reuse medical gloves?
No, medical gloves are designed for single use only. We found that reusing them can break down the material and compromise their protective barrier, increasing the risk of contamination and infection.
How are powder-free gloves made differently?
To create powder-free gloves, manufacturers perform extra washing steps after the curing process. They also often apply a polymer coating, like silicone or a synthetic polymer, to make them easy to put on without powder.
What is the purpose of the coagulant in glove making?
The coagulant is applied to the mold first to help the liquid glove material evenly adhere to the mold surface. We researched and found this step is essential for creating a uniform glove thickness and preventing defects.
Are all medical gloves tested for durability?
Yes, rigorous quality control includes various tests for durability. Manufacturers test for tensile strength, elasticity, and resistance to punctures and tears to ensure the gloves provide adequate protection.
Why are nitrile gloves so popular in healthcare settings?
Nitrile gloves are popular because they are latex-free, reducing allergy risks, and offer excellent puncture and chemical resistance. We found they provide a strong, reliable barrier suitable for many medical tasks and high-risk situations.