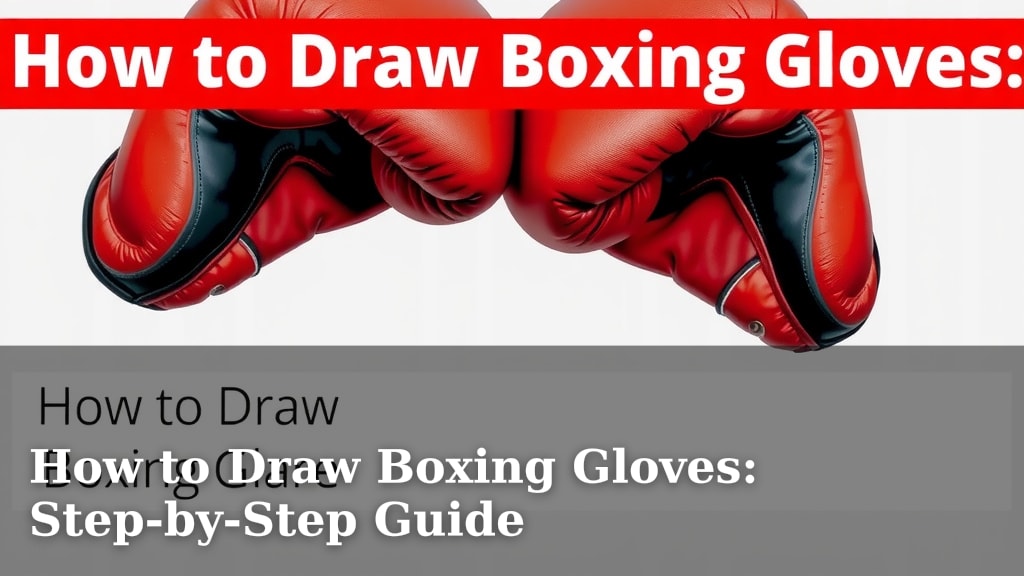
How to Draw Boxing Gloves: Step-by-Step Guide
Drawing boxing gloves is totally doable with a few simple steps. You can create a realistic look by focusing on their puffy shape and the essential strap system. It’s a fun way to add a sporty touch to your drawings.
Boxing gloves might seem tricky at first glance. But once you understand their basic form, you’ll see they’re not so intimidating. We found that breaking them down into geometric shapes makes the process much easier for beginners. Think puffy cloud meets strapped wrist!
- Boxing gloves have a distinct puffy design.
- Focus on the main body and the cuff.
- The strap is a key visual element.
- Practice makes perfect for realistic shading.
Ready to get your gloves looking tough? Let’s walk through exactly how to draw them, step by step.
Your Step-by-Step Guide to Drawing Boxing Gloves
Drawing boxing gloves might seem a little intimidating at first. But we found that breaking them down into simple shapes makes the process totally manageable. Think of them as puffy mitts with a clever strap system. Let’s get started by building the basic form, which is all about curves and volume.
Building the Foundation: The Main Glove Shape
First, let’s sketch the main body of the glove. Imagine a slightly flattened oval or a soft, rounded rectangle. This will be the core of your glove. Don’t worry about perfection here; these are just guide lines to get us going. We want it to feel soft and padded.
Creating the Palm Area
From this main oval, draw a curved line that cuts across the bottom. This line helps define the palm area. It should curve inward slightly, like a gentle smile. This separation is key to giving the glove its distinct shape.
Defining the Thumb Section
Now, let’s tackle the thumb. On one side of your main oval, draw a smaller, puffy, rounded shape attached to it. This little pouch is where the thumb will sit. It should look soft and separate from the main body. Think of it as a little pocket for the thumb.
Adding the Cuff and Padding
Next, we’ll build up the cuff area. This is the part that wraps around the wrist. Above your main oval, draw another, wider curved line. This line will create the top edge of the glove’s cuff. It’s often thicker and more padded than the main hand part.
Connecting the Cuff to the Hand
Now, gently connect this upper cuff line to the sides of your main oval shape. You’re essentially creating a thicker band that surrounds the wrist area. This part needs to look bulky and protective. Many designs feature extra padding here, so let’s add some subtle volume.
Sketching the Finger Pouch
Look at the top of your main oval, above the palm line. Draw a subtle curve to indicate where the fingers will sit. This isn’t a sharp line; it’s more of a soft indentation. It suggests the padding separating the knuckles from the rest of the glove.
The Essential Strap System
The strap is what really makes a boxing glove look like a boxing glove. It’s usually a long, flexible piece of material. We found that sketching this as a long, narrow rectangle that wraps around the cuff is a good start.
Positioning the Strap
Start drawing your strap from one side of the cuff. Let it wrap around the wrist area. It often has a slight curve to it, following the shape of the wrist. Don’t draw it too tight; it needs to look like it can be adjusted.
Adding the Fastening Detail
At the end of the strap, draw a smaller rectangle or a Velcro-like patch. This is where the strap fastens. Sometimes there’s a loop or a D-ring detail here too. This small addition adds a lot of realism to your drawing. We found that a few short, parallel lines can suggest the hook-and-loop fastener.
Refining Your Drawing and Adding Detail
Now that we have the basic shapes, let’s refine them. Erase any overlapping construction lines that you don’t need. Smooth out your curves. Make sure the puffiness of the glove is evident. Think about where the padding would be thickest.
Adding Stitching Lines
Boxing gloves often have visible stitching. Add some simple lines along the edges or seams. These don’t need to be perfect; slightly uneven lines can make them look more authentic. We research and found that focusing on the main seams is usually enough (Boxing Equipment Reviews).
Creating Depth with Shading
Shading is where your glove will really come to life. Think about where light would hit the glove and where shadows would fall. The padded areas will likely have soft, rounded shadows. The creased areas, like where the strap bends, will have deeper shadows. This adds a sense of volume. Many artists suggest using a soft pencil or blending tool for realistic shading effects.
Quick Checklist for Your Glove Drawing
- Start with a basic oval for the hand.
- Add a puffy shape for the thumb.
- Sketch a wider cuff area above the hand.
- Draw a long strap wrapping the wrist.
- Add a fastening detail to the strap.
- Use shading to show the glove’s padding.
Conclusion
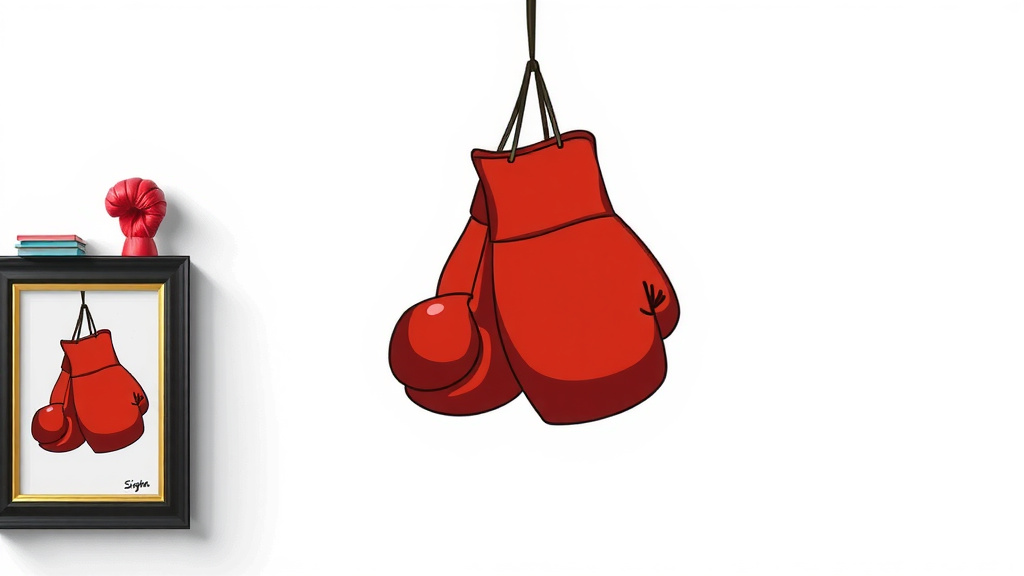
You’ve now learned how to draw boxing gloves, step by step! Remember, it’s all about building from simple shapes. Focus on that distinct puffy form and don’t forget the essential strap. Adding shading will bring your gloves to life, giving them that realistic, padded feel. You’ve got this! Your next step? Grab your drawing tools and practice sketching a pair. You’ll be amazed at how quickly you improve with a little practice.
Frequently Asked Questions
What are the easiest shapes to start with for drawing boxing gloves?
You can begin by sketching a slightly flattened oval or a soft, rounded rectangle for the main body of the glove. This gives you a solid base to build upon. Think of it like drawing a puffy cloud as a starting point.
How do I make the boxing glove look puffy and padded?
You can create the puffy look by adding extra curved lines around the main shape, especially at the cuff and where the fingers meet the palm. Shading is also key; use soft, rounded shadows to suggest volume and padding.
What’s the best way to draw the strap on a boxing glove?
Start by sketching a long, narrow rectangle that wraps around the cuff area of the glove. Give it a slight curve to follow the wrist’s natural shape. Don’t draw it too tight, as it needs to look adjustable.
Do I need to add stitching to my boxing glove drawing?
Adding some simple stitching lines along the edges can really enhance the realism. They don’t need to be perfectly straight; slightly uneven lines can actually make them look more authentic and hand-stitched.
How can I make my boxing glove drawings look more realistic?
Focus on accurate proportions and the key elements like the puffiness and the strap system. Applying shading carefully to show where light hits and where shadows fall will add depth and make your gloves look more three-dimensional.