Learn to Crochet Fingerless Gloves: A Simple Guide
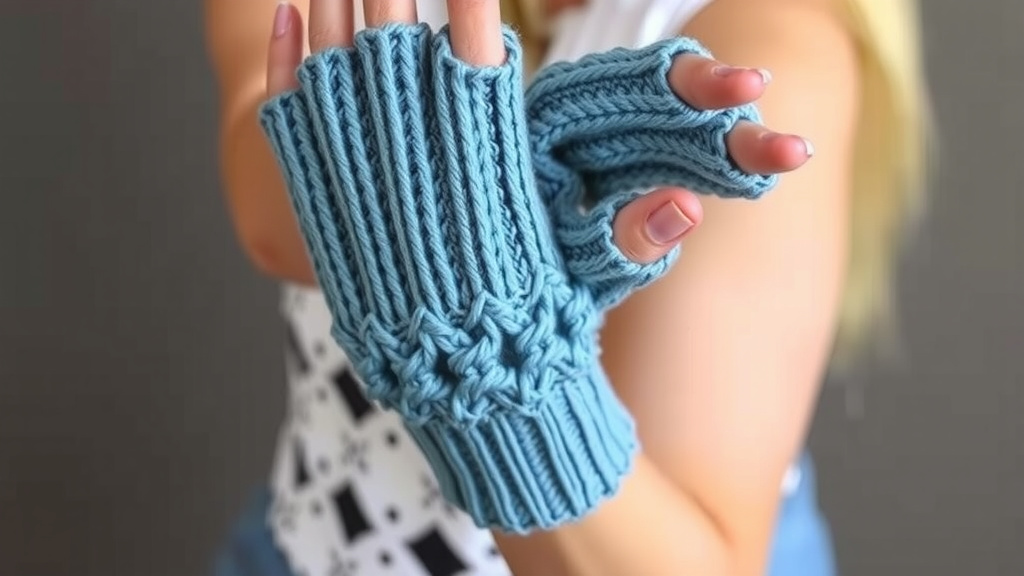
You can absolutely learn how to crochet fingerless gloves, and it’s a fantastic project for beginners. The basic stitches you’ll use are familiar if you’ve done any other crochet before. We’ll guide you through making these stylish and practical accessories. You’ll be amazed at how quickly you can finish a pair.
Crocheting fingerless gloves lets you add a personal touch to your wardrobe. They’re perfect for keeping your hands warm while letting your fingers move freely. Many crafters find them a rewarding project. They’re also a great way to practice different stitch patterns. This project is surprisingly beginner-friendly and fun.
- Learn the basic stitches needed.
- Understand how to measure for fit.
- Follow simple step-by-step instructions.
- Customize with your favorite yarn colors.
Ready to get started? Let’s walk through exactly how to crochet your very own pair of fingerless gloves step by step.
Your Guide to Crocheting Fingerless Gloves
Ready to create your own cozy fingerless gloves? It’s a project that’s both fun and functional. You’ll find that the basic stitches are quite simple. This means you can create a stylish accessory without a steep learning curve. Let’s get started on making a pair that fits you perfectly.
Getting Started: What You’ll Need
Before you pick up your crochet hook, let’s gather your supplies. Having everything ready makes the process smooth. It’s like getting your kitchen prepped before you start cooking. You want to be able to focus on the stitches, not on searching for yarn.
Choosing Your Yarn
The yarn you select will affect the look and feel of your gloves. For a beginner-friendly project, consider a medium-weight yarn. This is often labeled as “worsted weight” or “aran weight” on the yarn label. These yarns work up quickly. They also make it easy to see your stitches.
Acrylic yarns are a great choice for your first pair. They are durable, washable, and come in a rainbow of colors. You can find them at most craft stores. If you prefer a natural feel, wool or cotton blends are also excellent options. Just be mindful of washing instructions for those fibers.
Selecting the Right Hook Size
Your yarn label will usually suggest a hook size. It’s a good starting point. For worsted weight yarn, a size H-8 (5.0 mm) or I-9 (5.5 mm) hook is common. You want your stitches to be firm enough to hold their shape, but not so tight that the fabric is stiff. A slightly larger hook can create a softer, drapier fabric.
We found that using the hook size recommended on the yarn label generally produces a good gauge. Gauge refers to how many stitches and rows you get per inch. Getting your gauge right is important for a good fit. We’ll talk more about checking your gauge later.
Other Essential Notions
You’ll need a pair of scissors for cutting yarn. A yarn needle is also very helpful. This needle has a large eye to thread yarn. You’ll use it to weave in any loose ends when you finish. A measuring tape is essential for ensuring a proper fit.
Understanding Basic Crochet Stitches
Fingerless gloves rely on a few fundamental crochet stitches. If you’ve crocheted before, these will feel familiar. If you’re new to crochet, these are excellent stitches to learn first. They form the building blocks for many projects.
The Chain Stitch (ch)
The chain stitch is often the very first stitch a crocheter learns. It creates a flexible foundation. You’ll use it to start your work and to create spaces in your fabric. To make a chain, you yarn over and pull through the loop on your hook.
The Single Crochet (sc)
Single crochet stitches are short and dense. They create a sturdy fabric. To make a single crochet, you insert your hook into a stitch, yarn over, pull up a loop (two loops on your hook), yarn over, and pull through both loops.
The Half Double Crochet (hdc)
The half double crochet is a bit taller than the single crochet. It creates a slightly looser fabric. For a half double crochet, you yarn over, insert your hook into a stitch, yarn over, pull up a loop (three loops on your hook), yarn over, and pull through all three loops.
The Double Crochet (dc)
Double crochet stitches are taller still. They create a fabric that grows quickly. To make a double crochet, yarn over, insert your hook into a stitch, yarn over, pull up a loop (three loops on your hook), yarn over, pull through two loops (two loops remain), yarn over, and pull through the final two loops.
Measuring for a Perfect Fit
Getting the size right is key for comfortable fingerless gloves. You don’t want them too tight or too loose. Taking a few simple measurements will help ensure a great fit for your hands.
Key Measurements to Take
You’ll need two main measurements. First, measure the circumference of your hand around the knuckles. This is the widest part of your hand. Second, measure the length from your wrist to the base of your fingers. You might also want to measure the circumference of your wrist.
Understanding Gauge Swatches
A gauge swatch is a small sample of your crochet fabric. It helps you check if you’re getting the same number of stitches and rows per inch as the pattern suggests. For fingerless gloves, it’s especially important for the length and circumference.
To make a gauge swatch, crochet a small square using the stitch and hook size you plan to use for your gloves. A 4×4 inch square is a good size. After you finish, lay it flat and measure how many stitches and rows fit into 4 inches. If you have too many stitches, try a larger hook. If you have too few, try a smaller hook. This simple step can save a lot of frustration later on.
Crocheting Your Fingerless Gloves: Step-by-Step
Now for the fun part! We’ll walk through a common method for crocheting fingerless gloves. This method often works up quickly and is very beginner-friendly.
Starting the Wristband
You’ll typically start by creating a foundation chain. The length of this chain should match the circumference of your wrist. You can then join the ends to form a ring. Some patterns use a technique that doesn’t require joining, creating a flat piece that wraps around. For this guide, let’s assume we are creating a piece that will be seamed later.
Chain a length that fits snugly around your wrist. Make sure it’s not too tight. You want to be able to slip it on and off comfortably. Once you have the desired length, you’ll join the last chain to the first chain with a slip stitch to form a loop. You’ll then work rounds of single crochet or half double crochet stitches around this loop.
Working Up the Hand
After establishing the wristband, you’ll continue working upwards. The circumference of your work should match the circumference of your hand at the knuckles. You might need to increase your stitches slightly to achieve this. Many patterns work in the round, turning your work occasionally to keep the edges straight.
You’ll work in rounds until your glove reaches the base of your fingers. This is where the thumb opening will be. Pay attention to your measurements here. It’s better to go a little shorter and add length later if needed. Many crafters find that a length of about 5-6 inches from the wrist is a good starting point for most adult hands.
Creating the Thumb Opening
This is a key step for fingerless gloves. You’ll need to create a space for your thumb. You can do this by skipping a few stitches and chaining an appropriate number to replace them. This creates a gap in your work. Later, you’ll go back and crochet around this opening.
The number of stitches you skip and the number you chain will depend on the size of your thumb. Typically, skipping 4-6 stitches and chaining a similar number works well. You’ll then continue crocheting around to complete the round. The next round will simply work stitches into the spaces you just created.
Finishing the Glove
Once you’ve reached the desired length for your glove, you’ll fasten off your yarn. This involves cutting the yarn and pulling the tail through the last loop on your hook. After you’ve made one glove, you’ll repeat all the steps to create the second glove. Remember, practice makes perfect!
Seaming and Weaving in Ends
If your pattern involved working a flat piece that needs to be joined, use your yarn needle and a length of yarn to seam the side of the glove. You can use a whip stitch or a mattress stitch for a neat finish. Then, carefully weave in all your yarn tails. This secures them and makes your project look polished. You can find many video tutorials online showing different seaming techniques.
Customizing Your Fingerless Gloves
The beauty of crocheting your own accessories is the ability to personalize them. You’re not limited to basic stitches or plain colors.
Color and Texture Options
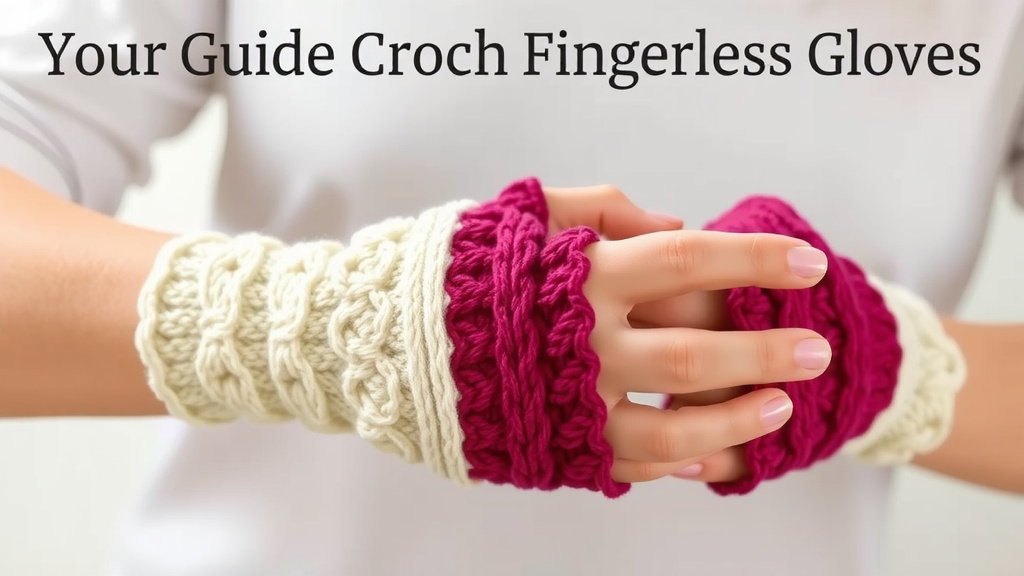
Don’t be afraid to experiment with different yarn colors. You can make striped gloves by changing colors every few rounds. Or try a variegated yarn that has multiple colors within a single strand. Different stitch patterns can also add texture. Consider trying the post stitch for a ridged effect.
Adding Embellishments
Once your gloves are finished, you can add decorative elements. Small buttons, beads, or even a bit of embroidery can make them unique. A simple border of contrasting color around the wrist or finger opening can also add a nice touch. Let your creativity guide you!
Conclusion
You’ve learned the fundamentals of crocheting your own fingerless gloves! We’ve covered everything from selecting the right yarn and hook to mastering basic stitches and taking accurate measurements. Remember, practice is key, and each pair you create will become even better. Don’t be afraid to experiment with colors and embellishments to make them truly your own. Grab your hook and yarn, and start crocheting your first pair today. You’ll be proud of the stylish and functional accessory you’ve made!
Frequently Asked Questions
What is the easiest yarn to use for beginner fingerless gloves?
For your first pair, we recommend using a medium-weight acrylic yarn, often labeled as worsted or aran weight. Acrylic is forgiving, easy to work with, and comes in many colors, making it ideal for learning. It’s also durable and washable.
How do I know if my fingerless gloves will fit properly?
Taking accurate measurements is essential. Measure your hand’s circumference around the knuckles and the length from your wrist to the base of your fingers. Comparing these to your crochet gauge swatch will help ensure a snug but comfortable fit.
Can I crochet fingerless gloves without a pattern?
Yes, you can! With basic stitches like single crochet and knowledge of how to measure for fit, you can create a simple flat piece that you seam closed or work in the round. The key is to make a rectangle that fits your hand and then add the thumb opening.
What are the best stitches for fingerless gloves?
Stitches like single crochet (sc) and half double crochet (hdc) are great choices for fingerless gloves because they create a dense, warm fabric that holds its shape well. Double crochet (dc) can also be used for a quicker project with a bit more drape.
How do I make the thumb hole on crochet fingerless gloves?
To create the thumb opening, you’ll typically skip a few stitches in a round and then chain a matching number of stitches to fill that gap. In the next round, you’ll crochet into these chained stitches to form the thumbhole, ensuring it’s positioned correctly for comfort.