How Vinyl Gloves Are Made: A Detailed Process
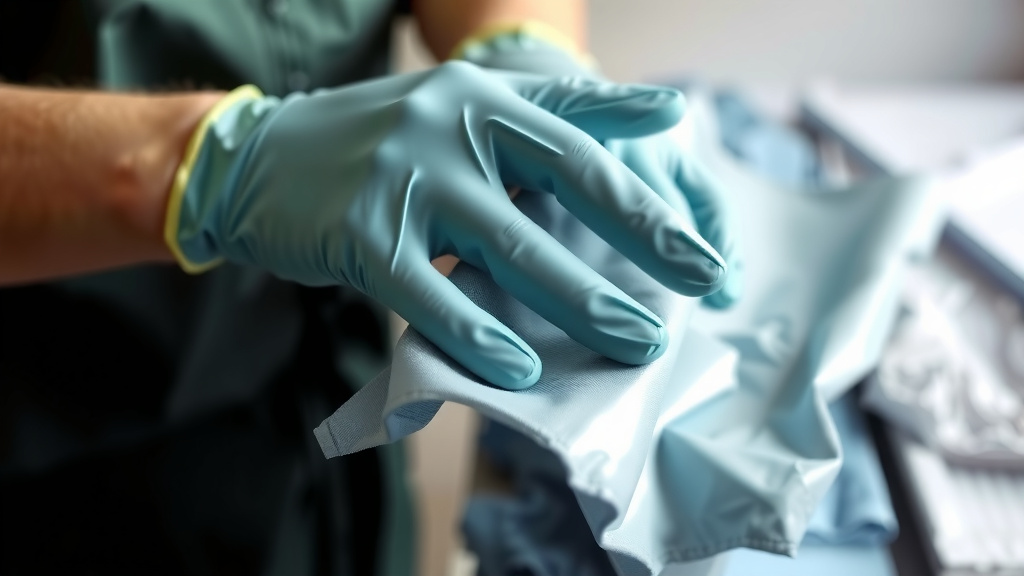
Vinyl gloves are made through a process called plastisol dipping. Liquid vinyl polymer is poured into glove-shaped molds. The molds then go through a heating process. This causes the vinyl to solidify and form a glove. It’s a pretty straightforward manufacturing method.
This dipping technique allows for the creation of gloves with a smooth finish. It also ensures a good level of flexibility and durability. These gloves are popular for tasks that don’t require the highest level of protection. They offer a good balance of cost and performance for everyday use.
- Vinyl gloves are made by dipping molds into liquid vinyl.
- The process is called plastisol dipping.
- It creates gloves that are flexible and durable.
- They are a cost-effective option for many uses.
Let’s walk through exactly how vinyl gloves are made, step by step.
How Are Vinyl Gloves Manufactured?
Vinyl gloves are made through a fascinating process that transforms liquid into a protective barrier. We’re talking about plastisol dipping. It’s a method where glove-shaped molds take a swim in a special vinyl mixture. This simple yet effective technique is how you get those comfortable, disposable gloves you see everywhere.
The Plastisol Dipping Process Explained
This is the core of vinyl glove creation. Imagine a giant vat of liquid vinyl. That’s where the magic begins. The process is designed to be efficient and create a consistent product.
Step 1: Mold Preparation and Heating
First, specialized hand-shaped molds are used. These molds are typically made of ceramic or aluminum. They are carefully cleaned and prepared. Then, they’re heated to a specific temperature. This preheating is vital. It ensures the vinyl adheres properly and cures evenly.
Step 2: The Dip
Once the molds are ready, they are submerged into a large tank filled with liquid vinyl, also known as polyvinyl chloride (PVC) or plastisol. The molds are dipped slowly and controlled. This ensures a uniform layer of plastisol coats the mold’s surface. The thickness of the glove is determined by how long the mold stays in the liquid and the viscosity of the plastisol.
Step 3: Curing and Solidification
After the dip, the molds are withdrawn from the plastisol. They then travel through a high-temperature oven. The heat causes the plastisol to gel and then solidify. This transforms the liquid coating into a flexible, rubber-like material. It’s like baking a cake, but for gloves! The oven’s temperature and duration are precisely controlled.
Step 4: Cooling and Stripping
Once cured, the molds move to a cooling station. As the material cools, it shrinks slightly. This makes it easier to remove the glove from the mold. Workers then carefully strip the finished gloves off the molds. This is often done by hand or with automated machinery.
Step 5: Post-Processing and Quality Control
After stripping, the gloves undergo final touches. This can include trimming any excess vinyl from the cuff area. They are then inspected for defects. This quality control step is essential. It ensures the gloves meet safety and performance standards. Inspectors check for holes, thin spots, or inconsistencies. We found that rigorous testing is key for user safety.
What is Plastisol?
Plastisol isn’t just any liquid. It’s a special suspension of fine PVC particles in a plasticizer. Think of it like tiny plastic beads floating in a liquid. When heated, the plasticizer softens and melts. It then fuses the PVC particles together.
Key Components of Plastisol
The primary ingredients are:
- Polyvinyl Chloride (PVC) resin: The main plastic component.
- Plasticizers: These liquids make the PVC flexible. Without them, the vinyl would be brittle.
- Stabilizers: These help prevent degradation during heating.
- Other additives: These can include pigments for color, heat stabilizers, and UV inhibitors.
Why Vinyl Gloves are Popular
Vinyl gloves have carved out a significant niche. Their manufacturing process contributes directly to their appeal. They offer a cost-effective solution for many applications.
Advantages You Can Count On
- Affordability: They are generally cheaper than latex or nitrile gloves. This makes them ideal for high-volume use.
- Latex-Free: Vinyl gloves are a great option for individuals with latex allergies. Many guidelines, like those from the CDC, recommend non-latex alternatives for general use to avoid allergic reactions.
- Smooth Finish: The dipping process results in a smooth, non-textured surface. This can be beneficial for certain tasks.
- Good Dexterity: They offer decent finger sensitivity for many everyday jobs.
Where They Shine and Where They Don’t
Vinyl gloves are excellent for low-risk tasks. Think food service, janitorial work, or light laboratory procedures. They provide a basic barrier against contaminants. However, they are not the best choice for tasks requiring high durability or chemical resistance.
For instance, if you’re handling harsh chemicals or performing tasks that involve a high risk of tears, you might want to consider nitrile gloves. Research from occupational safety bodies often highlights the superior chemical resistance of nitrile for specific industrial applications.
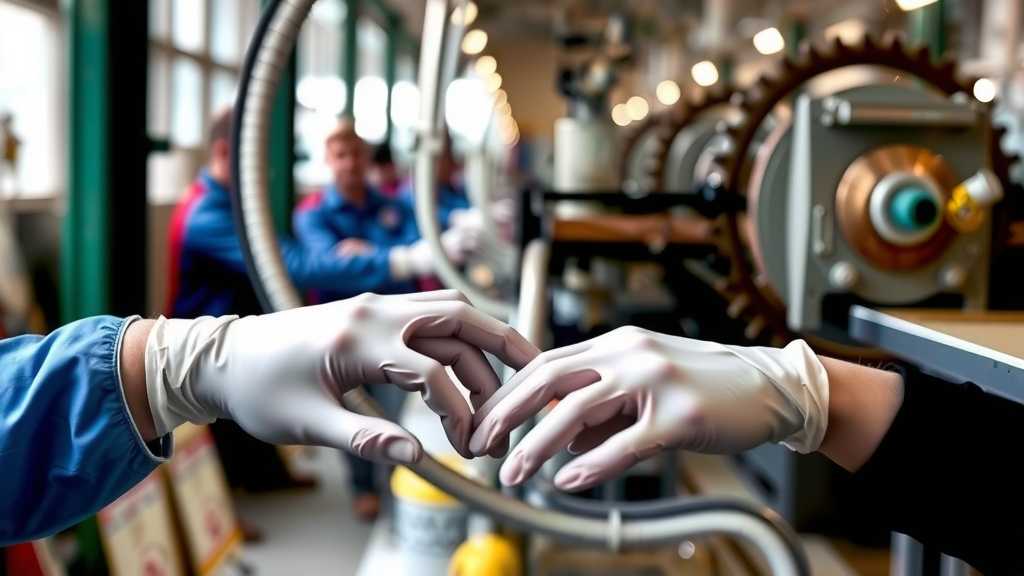
A Look at the Manufacturing Equipment
Making vinyl gloves requires specialized machinery. The entire setup is designed for continuous production.
Essential Machinery Involved
- Dipping machines: These automated systems control the immersion of molds into the plastisol.
- Conveyor systems: They move the molds through the different stages of the process.
- Drying/Curing ovens: Large, heated tunnels where the vinyl solidifies.
- Stripping machines: Automated or semi-automated equipment to remove gloves from molds.
- Quality control stations: Areas for visual inspection and testing.
Checklist: The Vinyl Glove Journey
Here’s a quick recap of the key steps you’d see in a vinyl glove factory:
- Molds are cleaned and preheated.
- Molds are dipped into liquid plastisol.
- The coated molds go through a curing oven.
- Gloves cool down after heating.
- Finished gloves are stripped from the molds.
- Gloves are inspected for quality.
Comparing Vinyl to Other Glove Types
It’s helpful to know how vinyl gloves stack up. While the manufacturing is similar for many disposable gloves, the materials differ greatly.
| Glove Type | Manufacturing Method | Key Material | Common Uses |
|---|---|---|---|
| Vinyl | Plastisol Dipping | PVC | Food service, light janitorial, low-risk medical |
| Latex | Dipping (natural rubber latex) | Natural Rubber Latex | Medical procedures, general lab work |
| Nitrile | Dipping (synthetic rubber) | Nitrile Butadiene Rubber | Medical, automotive, chemical handling, food processing |
As you can see, each type has its strengths. The production method for vinyl gloves is focused on creating an economical and accessible product.
Conclusion
You’ve now seen how vinyl gloves go from liquid to a protective barrier through the plastisol dipping process. It’s a manufacturing method that balances cost-effectiveness with everyday utility. Remember, while vinyl gloves are great for many general tasks, like food handling or light cleaning, they aren’t your best bet for heavy-duty chemical protection. Always consider your specific needs when choosing glove types. For your next purchase, consider the benefits and limitations we’ve discussed to make an informed decision.
Frequently Asked Questions
Can you make vinyl gloves at home?
Making vinyl gloves at home is generally not feasible. The process requires specialized equipment like hand-shaped molds, large vats of plastisol, and industrial curing ovens. These are typically found in dedicated manufacturing facilities for safety and efficiency.
Are vinyl gloves safe for food handling?
Yes, vinyl gloves are often considered safe for food handling. Their smooth surface is easy to clean, and they provide a barrier against contaminants. Many food service establishments use them due to their affordability and latex-free nature, which avoids common allergies.
How long does the vinyl glove manufacturing process take?
The entire manufacturing process, from mold preparation to the final glove, can take a matter of minutes per glove on an automated line. The key stages like dipping and curing are optimized for speed and continuous production.
What makes vinyl gloves different from latex or nitrile in manufacturing?
While all three often use a dipping process, the core difference lies in the material. Vinyl uses PVC plastisol, latex uses natural rubber, and nitrile uses synthetic rubber. These different materials require specific formulations and curing temperatures, affecting the final glove’s properties.
Why are molds heated before dipping?
Heating the molds is essential for proper plastisol adhesion and curing. The elevated temperature helps the liquid vinyl to gel and solidify evenly when it makes contact. This ensures a consistent glove thickness and a durable final product.