How Rubber Gloves Are Made: The Manufacturing Process
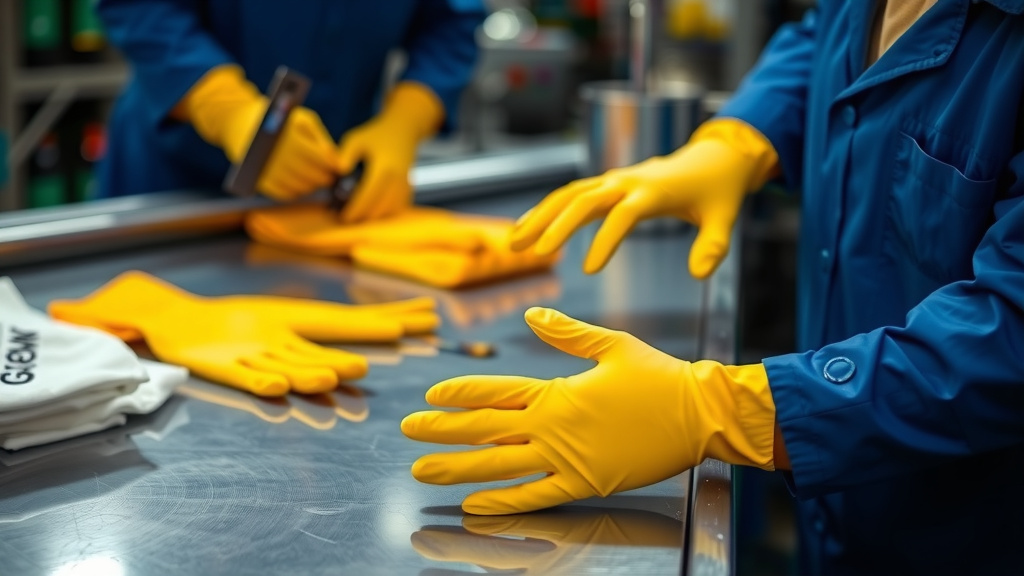
Rubber gloves are made through a process called dipping. In this method, a mold shaped like a hand is dipped into liquid latex. This creates a thin, flexible layer that hardens into a glove. It’s a clever way to create a protective barrier for your hands.
The liquid latex used is typically natural rubber, though synthetic versions exist. After dipping, the gloves are cured and processed to ensure durability and flexibility. This multi-step approach ensures your gloves are ready for any mess.
- Rubber gloves are made by dipping hand-shaped molds into liquid latex.
- The latex is then cured to form the glove.
- This process creates a protective barrier for your hands.
- Different types of rubber and additives are used.
- The gloves are then finished and packaged.
Let’s walk through exactly how these everyday heroes are brought to life, step by step.
How Are Rubber Gloves Created? The Dipping Process Explained
The journey of a rubber glove from raw material to protective barrier is quite fascinating. It all boils down to a technique known as dipping. Imagine a mold shaped exactly like a human hand. This mold is dipped into a vat of liquid rubber. This simple yet ingenious method forms the foundation of glove manufacturing.
The Raw Materials: What Goes Into Latex?
Before we dive into the dipping, let’s talk about the star ingredient: latex. This isn’t just any rubber; it’s usually natural rubber latex. This milky fluid comes from the rubber tree, Hevea brasiliensis. It’s a renewable resource, which is a nice bonus.
Natural vs. Synthetic Latex
While natural latex is common, you’ll also find gloves made from synthetic latex. These include materials like nitrile, neoprene, and vinyl. Each has its own strengths and is chosen based on the glove’s intended use. For instance, nitrile gloves are often preferred for their resistance to chemicals and punctures, making them a favorite in healthcare settings (Cleveland Clinic).
Additives for Performance
It’s not just pure latex going into the mix. Manufacturers add various chemicals. These additives help coagulate the latex onto the mold. They also improve the glove’s strength, flexibility, and durability. Think of them as enhancers that give the gloves their much-needed toughness and stretch.
The Dipping Process: Hands-On Manufacturing
Now, let’s get to the main event: the dipping. This is where the magic happens. It’s a carefully controlled process that ensures a consistent glove every time.
Preparing the Molds
First, the hand-shaped molds are cleaned thoroughly. They need to be spotless to avoid any imperfections in the final glove. After cleaning, they are often coated with a special solution. This acts as a release agent. It helps the finished glove slide off the mold easily later on.
Dipping into the Latex Bath
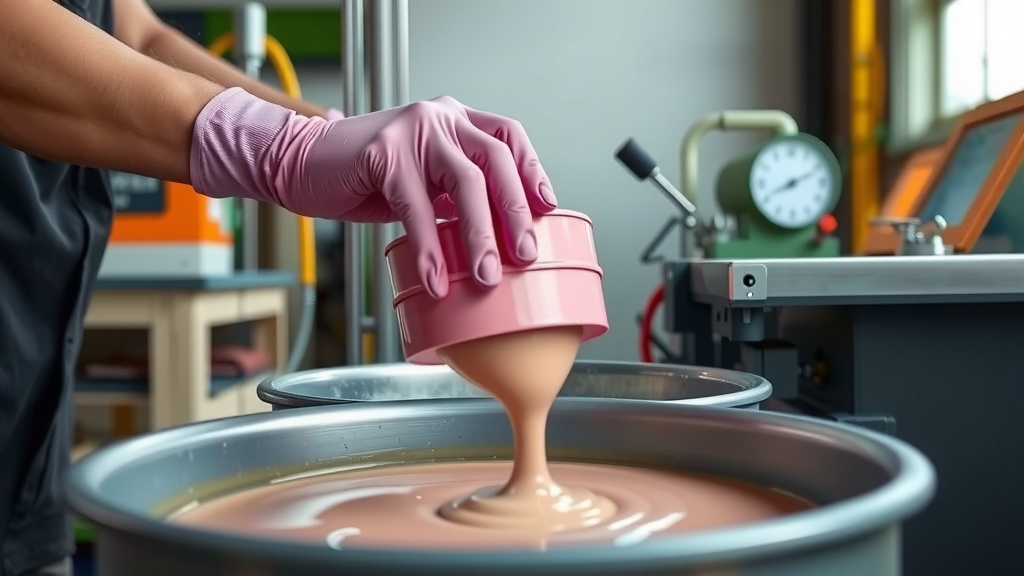
The clean, treated molds are then dipped into a large tank filled with liquid latex. The mold is submerged for a specific amount of time. This allows a thin, even layer of latex to cling to the mold’s surface. The thickness of the glove is controlled by how long the mold stays in the latex.
Curing: Making it Permanent
Once the mold is lifted out, it’s covered in a wet layer of latex. This layer needs to be hardened. This is done through a process called curing. The molds, still coated in latex, are passed through heated ovens. The heat causes chemical reactions. These reactions solidify the latex, transforming the wet coating into a strong, flexible glove.
Washing and Leaching
After curing, the gloves are often washed. This removes any remaining uncured latex or soluble chemicals. This step is important, especially for natural rubber latex gloves. It helps to reduce the risk of allergic reactions for some individuals. Residual proteins in natural latex can cause skin sensitivities (CDC).
Post-Processing and Finishing Touches
There are a few more steps before your gloves are ready. Some gloves might have a rolled cuff added. This reinforces the edge and makes them easier to put on and take off. For powdered gloves, a cornstarch-based powder is added. This helps prevent the gloves from sticking together. However, many modern gloves are now powder-free.
Quality Control: Checking for Flaws
Before packaging, every glove undergoes rigorous quality control checks. Inspectors look for any holes, tears, or inconsistencies. They ensure the gloves meet safety and performance standards. This is crucial for protecting the wearer.
Here’s a quick checklist of the main steps involved:
- Clean and prepare hand-shaped molds.
- Dip molds into liquid latex or synthetic polymer.
- Cure the latex coating using heat.
- Wash to remove excess materials.
- Add finishing touches like cuffs or powder.
- Inspect for quality and consistency.
Different Types of Gloves and Their Making
The dipping process is versatile. It can be adapted to create different types of gloves with unique properties.
Latex vs. Nitrile Gloves
As mentioned, latex gloves are typically made from natural rubber. Nitrile gloves, on the other hand, are made from a synthetic rubber called nitrile butadiene rubber. The manufacturing process for nitrile gloves is very similar, but the base material is different. This difference impacts their strength, elasticity, and suitability for various tasks.
Vinyl Gloves
Vinyl gloves are made from polyvinyl chloride (PVC). Their production involves a process more akin to making plastic films. While often less durable than latex or nitrile, they are a cost-effective option for light-duty tasks.
Final Packaging and Distribution
Once all the checks are passed, the gloves are ready for their final destination. They are carefully packaged into boxes. These boxes are then shipped out to stores, hospitals, and various industries. So, the next time you use a pair of rubber gloves, you’ll know the intricate process that brought them to your hands!
Conclusion
You’ve now journeyed through the creation of rubber gloves. From the tapping of rubber trees to the dipping and curing processes, it’s a manufacturing marvel. You learned how latex, both natural and synthetic, is transformed. Additives enhance performance, and meticulous quality control ensures your protection. So next time you pull on a pair, appreciate the science and care that went into them. Understanding this process can help you choose the right gloves for your needs.
Frequently Asked Questions
How long does it take to make a pair of rubber gloves?
The entire manufacturing process for rubber gloves typically takes several hours. This includes the dipping, curing in ovens, washing, and drying stages. Each step needs specific time to ensure the gloves are durable and safe for use.
Can you make rubber gloves at home?
Making high-quality rubber gloves at home is not practical or safe. The industrial process requires specialized equipment like hand molds, large vats of latex, and controlled heating ovens. It also involves precise chemical formulations and safety measures.
What’s the difference between latex and nitrile gloves in production?
While both use a dipping method, latex gloves use natural rubber latex. Nitrile gloves use a synthetic material called nitrile butadiene rubber. The raw material difference affects the final glove’s properties, like elasticity and chemical resistance. The production steps are similar but use different liquid bases.
Why are some rubber gloves powdered and others aren’t?
Powder, usually cornstarch, is added to some gloves to prevent them from sticking together in the packaging. However, this powder can sometimes cause skin irritation or affect sensitive procedures. Many manufacturers now offer powder-free gloves to avoid these issues.
Are rubber gloves safe for people with latex allergies?
People with latex allergies should avoid natural rubber latex gloves. They can trigger allergic reactions due to proteins in the latex. Your best option is to choose gloves made from synthetic materials like nitrile or vinyl, which are hypoallergenic.